How to Disinfect Garbage Carts Without a Mess
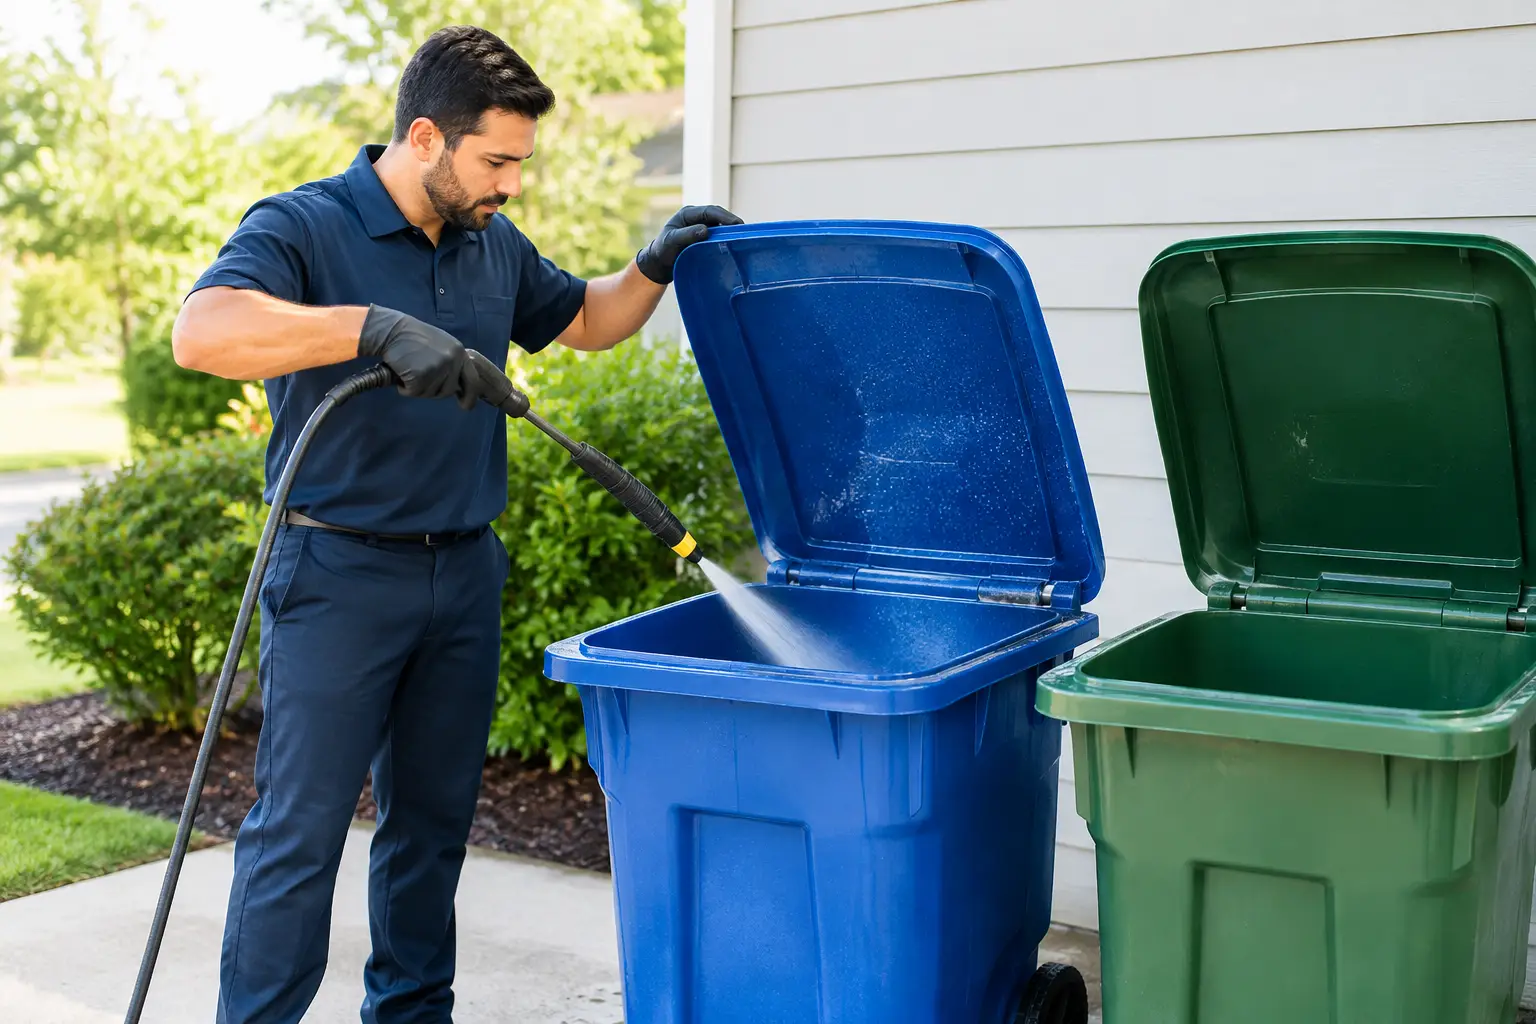
A garbage cart can look fine from the outside and still hold leaking food residue, bacteria, mold, and pest-attracting grime under the lid. In Florida heat, that buildup does not stay quiet for long. If you are wondering how to disinfect garbage carts, the goal is more than making them smell better. You want to remove the residue that causes odors, sanitize the surfaces that touch trash bags, and handle the dirty water responsibly.
For homeowners, that means a cleaner curb area and fewer unpleasant surprises on pickup day. For vacation-rental and second-home owners, it also helps keep a property looking cared for between visits and guest turnovers.
Cleaning and disinfecting are not the same job
A quick spray of deodorizer may cover an odor for a few hours, but it does not remove the film feeding it. Cleaning removes visible grime, stuck-on food, spills, and residue. Disinfecting uses a product intended to reduce germs on a cleaned surface. Deodorizing helps address lingering smells after the source has been removed.
That order matters. Disinfectant works best on a surface that has already been washed. Spraying it over a cart full of sticky residue is like trying to mop a floor without picking up the dirt first.
For a routine home cleaning, aim to wash and disinfect carts monthly. You may need to do it more often after a bag breaks, seafood scraps sit through a hot week, a rental turnover produces extra trash, or maggots appear. If the cart only has dry dust or a mild odor, a full disinfection may not be necessary every time. A thorough wash and proper trash-bag handling may be enough.
How to disinfect garbage carts step by step
The best time to clean a cart is immediately after collection, while it is empty. Waiting until the next day gives residue time to dry, and cleaning a full cart turns a manageable task into a messy one.
1. Choose a safe place to wash
Move the empty cart to a spot where you can control the wastewater. Avoid cleaning directly beside a storm drain, in the street, or on a sloped driveway where dirty water can run toward the gutter. That water may contain food waste, cleaning chemicals, bacteria, and grease. It does not belong in a stormwater system.
Wear closed-toe shoes and gloves. Eye protection is wise if you are using a hose nozzle or pressure washer, since contaminated splashback is the part nobody wants to think about until it happens.
2. Remove loose debris first
Open the lid and tip out loose scraps, leaves, or any trash left behind. A small brush, plastic scraper, or long-handled broom can help dislodge material stuck in the bottom corners. Never reach into the cart blindly. Broken glass, sharp can lids, and discarded yard tools have a way of hiding beneath wet debris.
If you find maggots, remove as much organic material as possible before washing. They need a food source and moisture to thrive. Removing both is more effective than relying on fragrance alone.
3. Rinse and wash the interior
Start with a rinse to loosen residue. Then apply a household cleaner or a mild detergent and scrub the interior walls, bottom, lid, rim, handles, and wheels. Pay special attention to the underside of the lid and the lip around the opening. These are common places for drips and splatter to collect.
A pressure washer can speed up the work, but it has a trade-off. Too much pressure can blast dirty water onto you, nearby walls, vehicles, and landscaping. Use a controlled setting and keep the spray pointed down into the cart. Hot water is especially effective at breaking up grease and stubborn film when it is available.
4. Apply a disinfectant correctly
Once the cart is visibly clean, apply a disinfectant labeled for hard, nonporous surfaces. Follow the product label exactly, including dilution instructions and contact time. Contact time is the period the surface must remain wet for the product to do its job. Wiping it off immediately can reduce its effectiveness.
Bleach can be used in some situations, but it is not automatically the best choice. It can discolor surfaces, irritate skin and lungs, and damage clothing. Never mix bleach with ammonia, acidic cleaners, or other disinfectants. Mixing cleaning products can create dangerous fumes.
Keep the lid open while you work so fumes do not become trapped inside the cart. If you are sensitive to odors or chemical cleaners, choose a product with clear ventilation and safety directions, or consider professional service instead of taking on the job yourself.
5. Rinse only if the product requires it, then dry
Some disinfectants require a rinse on surfaces that may contact food or pets. Others do not. Again, the label is the authority. Afterward, leave the cart open to air-dry in a sunny, well-ventilated place if possible. Sunlight and dry conditions help discourage the damp environment that mold and maggots prefer.
Do not close the lid while the interior is still wet unless rain is coming. A sealed, damp cart in Florida heat can bring the odor back faster than expected.
6. Deal with wastewater responsibly
This is the step most DIY cart-cleaning routines skip. Rinsing debris into the driveway and hosing it toward the street may feel convenient, but it sends contaminated wash water where it should not go.
Capture the wastewater when possible and dispose of it through an appropriate sanitary connection, following local rules. If your property setup makes that difficult, use minimal water, wipe out residue before rinsing, and avoid washing near drains. Professional cart cleaning is often the practical answer because the equipment can use high-pressure hot water while capturing the wastewater on site.
Keep odors from coming back next week
A disinfected cart will stay fresher longer when trash is contained well. Bag food waste securely, double-bag especially messy items, and avoid placing loose garbage directly in the cart. Rinse containers that held meat, dairy, or sugary liquids before throwing them away if they will sit for several days.
For strong odors, put particularly wet food waste in a smaller sealed bag before it goes into the main trash bag. If collection is delayed after a storm or holiday, keep that bag in a covered outdoor container or freezer, if practical, until pickup day. This is especially useful for part-time residents who may not be home to respond to a missed collection.
A cart liner can make cleanup easier, but it is not a substitute for washing. Liners tear, shift, and trap moisture. Think of them as a helper, not a sanitation plan.
When professional cleaning makes more sense
DIY cleaning works for many households, particularly when the cart is lightly soiled and you have a suitable place to manage wastewater. It becomes less appealing when a cart has heavy buildup, recurring maggots, strong odors, or a broken trash bag that has leaked into every corner.
It can also be physically demanding. A 95-gallon cart is awkward to move, tilt, scrub, rinse, and dry. For older adults, busy families, and property managers handling several homes, the task can become one more curb-day burden that never quite gets done.
Curb Critter cleans bins after collection, when they are empty, using high-pressure hot water, sanitizer, deodorizer, and on-site wastewater capture. Pairing that work with recurring valet service means the cart can be rolled out, returned, and cleaned without a separate appointment or another item on your calendar.
A clean cart will never make taking out the trash enjoyable. It can, however, keep a small household chore from turning into lingering odors, pests, stained driveways, and an unpleasant job waiting in the Florida heat. Keep the routine simple: empty cart, real cleaning, proper disinfectant contact time, responsible wastewater handling, and a dry interior before the next bag goes in.